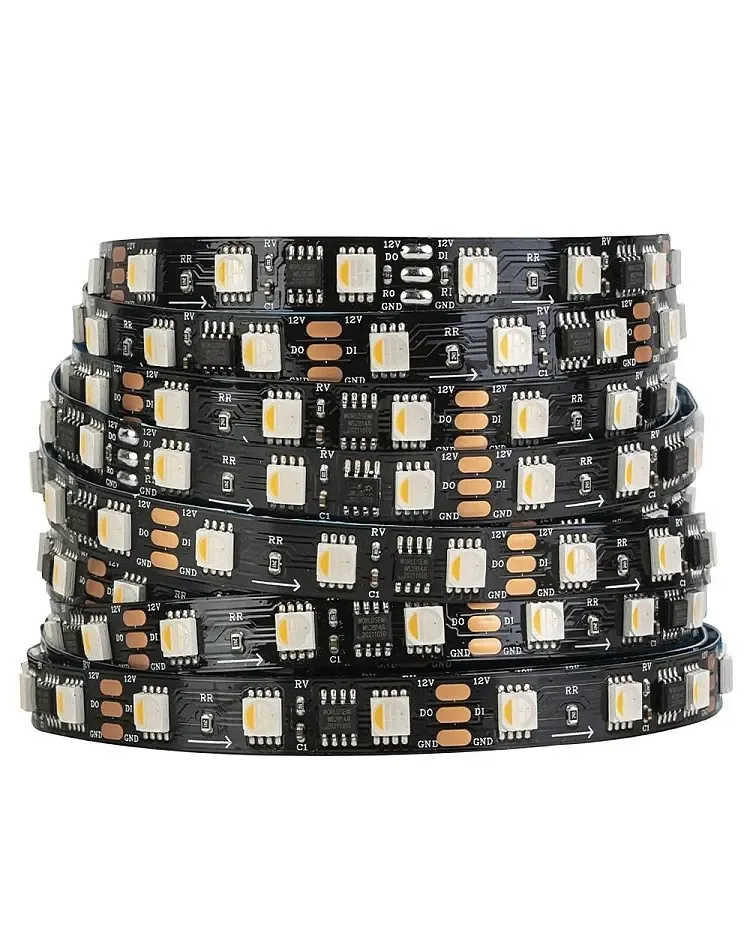
01 / Short answer
The correct supply matches voltage and topology first, then provides enough current with headroom and a protected, serviceable route to the strip.
Buyers sizing a supply and control path for low-voltage strip lighting
CHECKPOINT / 01
Identify the electrical topology first
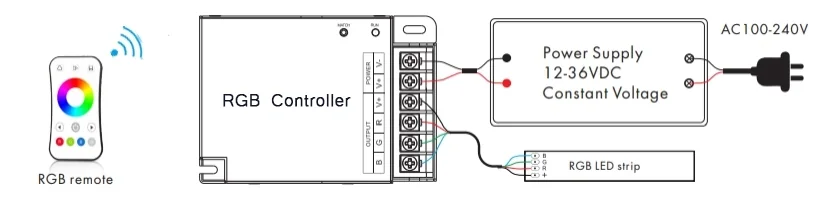
Most low-voltage LED strips are constant-voltage loads: a 12 V or 24 V supply feeds the strip and a compatible controller modulates the channels. Some fixtures and light engines are constant-current loads and need a driver that regulates current for the specified LED string. Those supplies are not interchangeable. Read the light-engine record and driver requirements before comparing wattage or dimming features.
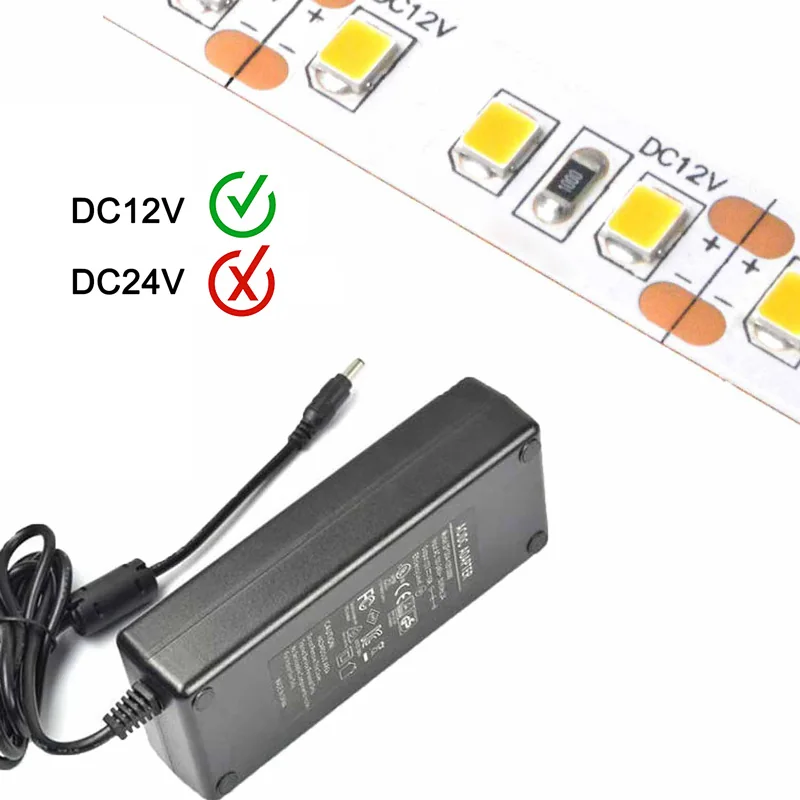
- Constant-voltage strip: supply output voltage must match the strip.
- Constant-current fixture: driver current, voltage range and LED string count must match.
- Mains input and low-voltage output are separate design boundaries.
CURRENT PRODUCT RECORDS
24 V WS2814 RGBW addressable LED strip View productCHECKPOINT / 02
Calculate load, current and headroom
Use the exact declared watts per metre or maximum channel load, multiply by the installed length and add practical headroom. Divide watts by voltage to estimate current, then check the supply terminals, cable, connector, fuse and controller output as separate limits. The familiar 80 percent rule is a useful starting point for continuous operation, not a substitute for temperature, inrush, dimming, enclosure or local code review.
load_w = length_m * watts_per_m
current_a = load_w / voltage_v
supply_w >= load_w * 1.20
CURRENT PRODUCT RECORDS
24 V WS2814 RGBW addressable LED strip View productCHECKPOINT / 03
Match dimming and control to the supply
A PWM dimmer sits in a different electrical role from a dimmable mains driver. An addressable controller sends data while the strip still needs a correctly sized supply. A CCT driver such as the current linked example is associated with a CCT fixture path and should not be presented as a universal supply for every strip. Confirm channel count, common-anode or other topology, minimum load, dimming method and controller rating before wiring.
- Choose PWM hardware for a constant-voltage strip when that is the documented path.
- Use a paired CCT driver for a compatible CCT light engine, not for an unrelated addressable strip.
- Keep controller current limits below the supply and branch limits.
CHECKPOINT / 04
Design the physical power path
The supply can be correctly sized while the installation still fails at a long cable, small connector or unprotected branch. Place practical fuses close to the source or distribution point, size conductors for current and distance, maintain polarity and provide a common ground where the controller requires it. Measure the voltage at the strip under the intended bright state and inspect the far end for color shift, flicker and heat.
- Separate mains work from the low-voltage build and follow local electrical requirements.
- Use weather-appropriate enclosures and cable entries for exposed installations.
- Leave a service loop and label voltage, polarity, branch fuse and destination.
CURRENT PRODUCT RECORDS
24 V WS2814 RGBW addressable LED strip View productCHECKPOINT / 05
Commission the real load, not the empty bench
Power the controller and a short strip first, then add branches one at a time. Test the maximum planned white or color state, dimming transitions, restart behavior and the intended scene. Record supply model or configuration, measured voltage, cable length, fuse, controller, strip variant and ambient conditions. If the load, enclosure or run length changes, repeat the relevant checks instead of carrying the first result forward.
bench_sample -> polarity_check -> bright_state
measure: supply_end + strip_end + temperature
handoff: voltage + load + fuse + cable + controller
CURRENT PRODUCT RECORDS
24 V WS2814 RGBW addressable LED strip View productVISUAL REFERENCES
See the layers before you specify the parts.
FAILURE MODES
What usually goes wrong
- A 12 V or 24 V strip is connected to a supply with the wrong output voltage.
- Supply wattage is chosen from average brightness while the controller and strip can draw the declared maximum.
- A CCT constant-current driver is treated as a general-purpose constant-voltage strip supply.
- The main fuse is sized correctly but a thin branch, connector or pigtail has no suitable protection.
- Commissioning happens at low brightness, so far-end voltage drop and heat are discovered after installation.
TECHNICAL BASIS / VERSION
Keep the decision current
This guide is maintained as a versioned technical record. Recheck the current protocol documentation and the exact product revision before using it in a production installation.
Confirm the selected voltage, light engine, driver, controller, firmware and installation conditions against the product record and project brief.
FAQ / QUICK ANSWERS
Common questions about this lighting setup
How much larger should the power supply be than the calculated load?
Use the declared maximum load and a documented headroom rule, commonly at least 20 percent for a first estimate. Recheck temperature, inrush, enclosure, dimming behavior and local requirements before finalizing a continuous installation.
Can one power supply run several LED strip branches?
It can when the output voltage, total load, distribution, cable, connectors and branch protection are all designed for it. A larger supply does not make an undersized branch safe.
Do addressable strips need a different kind of power supply?
They still need a supply matched to their strip voltage and maximum load, but they also add a data controller and common-ground requirement. The data path and power path should be tested independently and then together.
READING LIST
Reference points used for this guide
The page is rewritten for LumaCircuit readers. These references establish the original topic or technical context; they do not replace an exact product review or a LumaCircuit test record.
- Reference article / selecting power for LED strip lighting