01 / Short answer
Shelf lighting starts with the object and the viewer, not with a strip length. Decide whether the light should reveal a surface, wash the shelf, backlight glass or create a quiet accent, then place the source, diffuser, power branch and service access around that goal.
Furniture makers, display designers and homeowners adding useful light to wood, glass or metal shelving
CHECKPOINT / 01
Choose the light position from the object
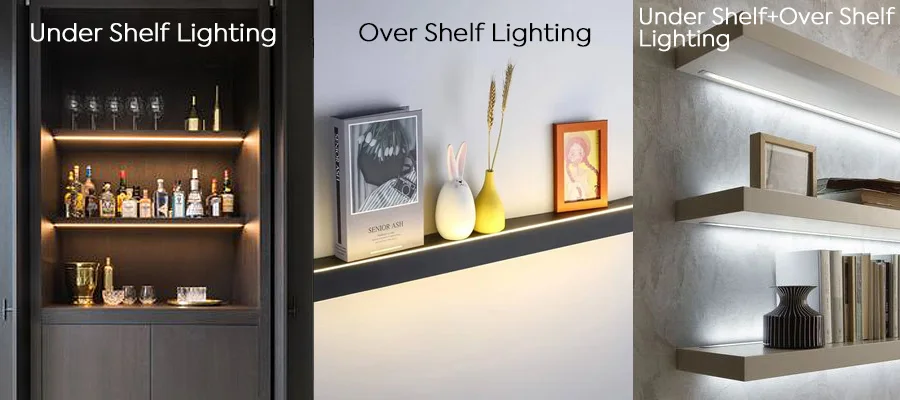
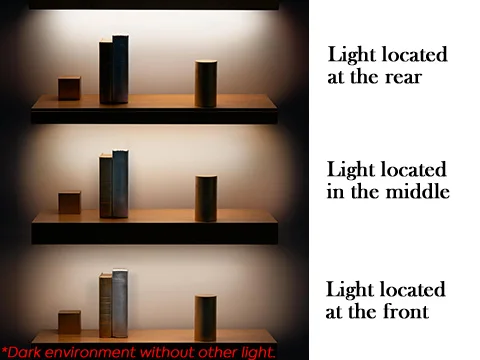
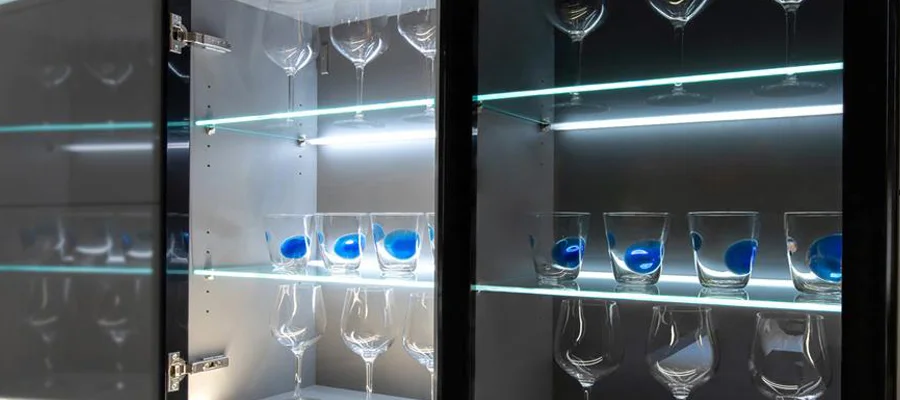
Under-shelf lighting sends light down onto the next level and can reduce shadows on books or products. Over-shelf lighting creates more contrast from below. Rear lighting can create a backlit layer, while a front edge can reveal texture but may enter the viewer sightline. A small spotlight may suit one object, while a strip or bar creates a calmer line across many objects.
- Draw the viewer position and the object height before choosing the source.
- Use separate zones when shelves need different brightness or scenes.
- Avoid placing a bright source where the viewer sees the emitter directly.
CHECKPOINT / 02
Use the shelf material as an optical constraint
Wood, glass, metal and painted surfaces reflect and transmit light differently. A glass edge can carry light through the shelf, while a wood recess can hide a channel and its diffuser. A dark surface may absorb more light and a glossy surface may show reflections. Approve the CCT, diffuser and source position with the actual material, not with a generic room photograph.
- Check shadows from the shelf lip and the displayed object.
- Use a diffuser to control points and protect the strip edge.
- Record whether the shelf needs a recess, edge channel or surface mount.
CURRENT PRODUCT RECORDS
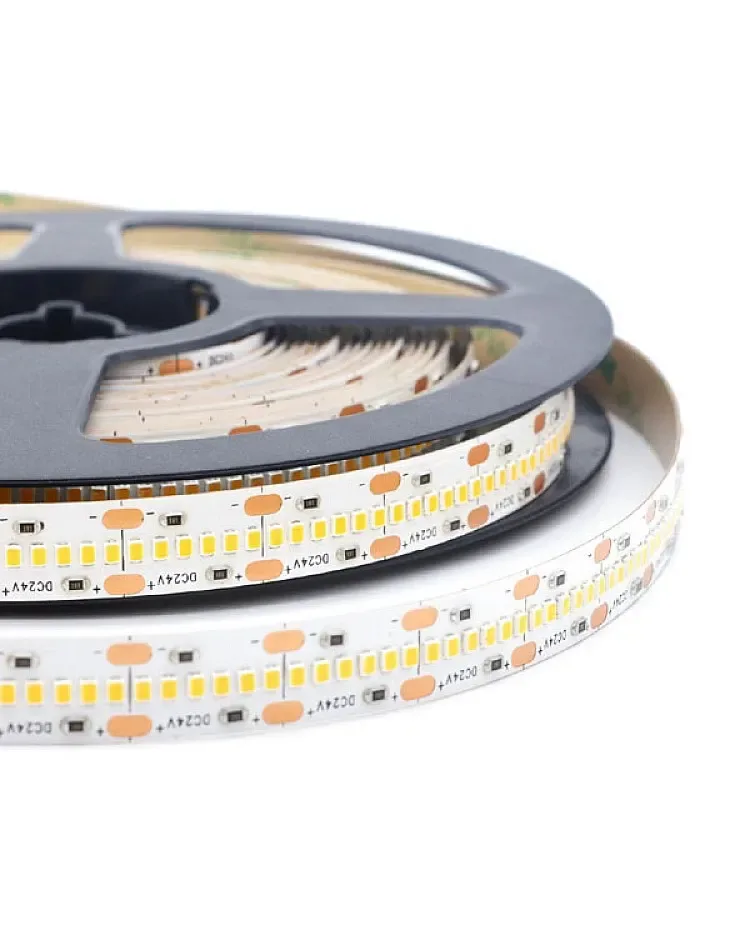
2216 CCT LED strip, 420 LEDs View productCHECKPOINT / 03
Select the channel before cutting the shelf
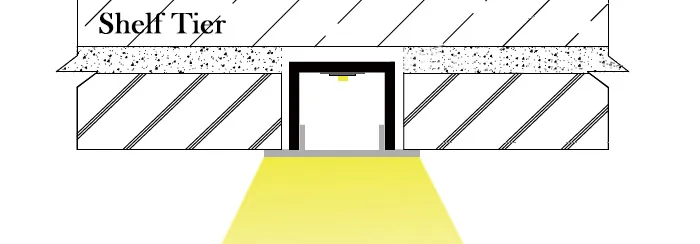
A recessed channel can create a clean built-in line, while an angled or corner profile can aim light back into the shelf and away from the eye. Check the channel inner width, depth, diffuser, end caps and fasteners against the board, coating and connector. For glass, confirm the panel thickness and edge detail. Do not route a recess until the complete cross-section has been approved.
- Measure the channel clearance at the shelf edge and at every joint.
- Keep screws or clips from piercing the opposite face of the shelf.
- Leave room to remove the diffuser and replace the strip.
CURRENT PRODUCT RECORDS
2216 CCT LED strip, 420 LEDs View productCHECKPOINT / 04
Wire the tiers as calculated branches
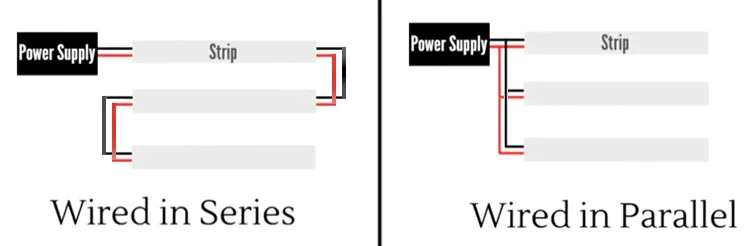
Each shelf tier is a separate lighting branch even when all tiers share one controller or supply. Calculate the length and current of each branch, then decide whether to return each branch to a distribution point or use a documented short connection between tiers. Longer low-voltage paths can lose voltage, so do not let a neat vertical wire hide a weak far-end feed. Keep the power and control plan accessible behind the furniture.
tier_w = watts_per_m * tier_length_m
tier_a = tier_w / voltage_v
total_w = sum(tier_w)
supply_w >= total_w * 1.20
CURRENT PRODUCT RECORDS
35 W waterproof LED power supply View productCHECKPOINT / 05
Commission the display at eye level
Install a short sample with the final channel, diffuser, shelf finish and representative object. Test warm, neutral or cool white as appropriate, then inspect glare, shadows, reflection, color quality and uniformity from the normal viewing position. Run all tiers at their maximum planned state and check voltage, connector temperature and dimming. Record the shelf map, strip variant, branch lengths and service access before the furniture is closed.
- Check both an empty shelf and a fully dressed shelf.
- Test the controller or dimmer with every tier active.
- Keep a replacement lead and a removable access panel where possible.
CURRENT PRODUCT RECORDS
2216 CCT LED strip, 420 LEDs View productVISUAL REFERENCES
See the layers before you specify the parts.
FAILURE MODES
What usually goes wrong
- The light position is chosen from the shelf center without considering the viewer sightline.
- A channel is routed before the strip, coating, connector and diffuser cross-section are measured.
- Every shelf is daisy-chained through one small branch without checking voltage drop.
- The color temperature is selected from a product photo instead of the actual wood, glass or display object.
- Furniture is closed before dimming, heat, joint and replacement access are tested.
TECHNICAL BASIS / VERSION
Keep the decision current
This guide is maintained as a versioned technical record. Recheck the current protocol documentation and the exact product revision before using it in a production installation.
Confirm the selected voltage, light engine, driver, controller, firmware and installation conditions against the product record and project brief.
FAQ / QUICK ANSWERS
Common questions about this lighting setup
Should shelf lighting go above or below the shelf?
Use the object and viewer as the decision. Under-shelf light often gives useful downward task light, over-shelf light creates contrast, and rear or edge light can create a display accent. A sample at eye level is the fastest way to choose.
Do I need an aluminum channel for shelf lighting?
A channel can spread heat, hide the strip, control glare and protect the edge. Whether it is required depends on the strip, power, material, diffuser, sightline and service plan.
Can all shelf tiers share one power supply?
They can when the total load, branch current, cable, distribution, controller and supply are all sized for the layout. Separate branches are usually easier to test and repair.
READING LIST
Reference points used for this guide
The page is rewritten for LumaCircuit readers. These references establish the original topic or technical context; they do not replace an exact product review or a LumaCircuit test record.
- Reference / localized technical tutorial