01 / Short answer
Mirror lighting should make faces and the surrounding task visible without exposing a harsh point source. Choose the optical position, color quality, moisture boundary and service path before attaching the first strip.
DIY builders, bathroom renovators and installers creating backlit or perimeter-lit vanity mirrors
CHECKPOINT / 01
Choose front light, back glow or both
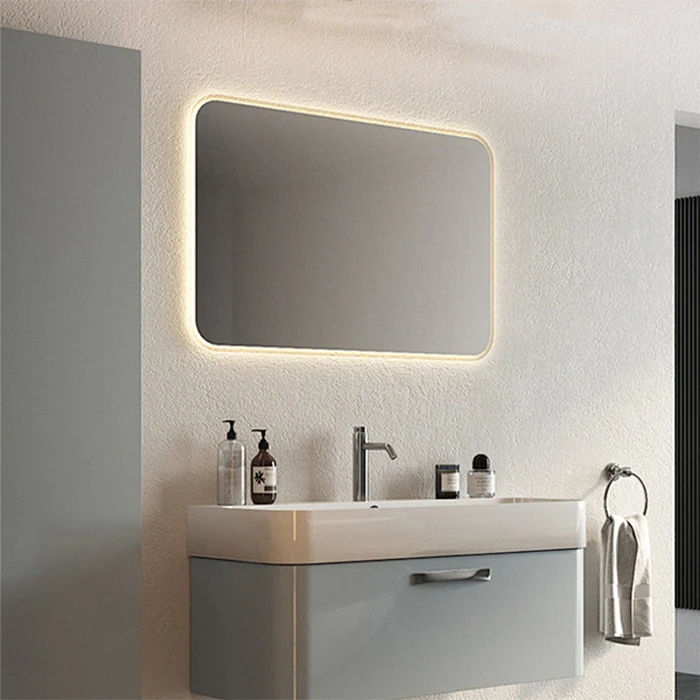
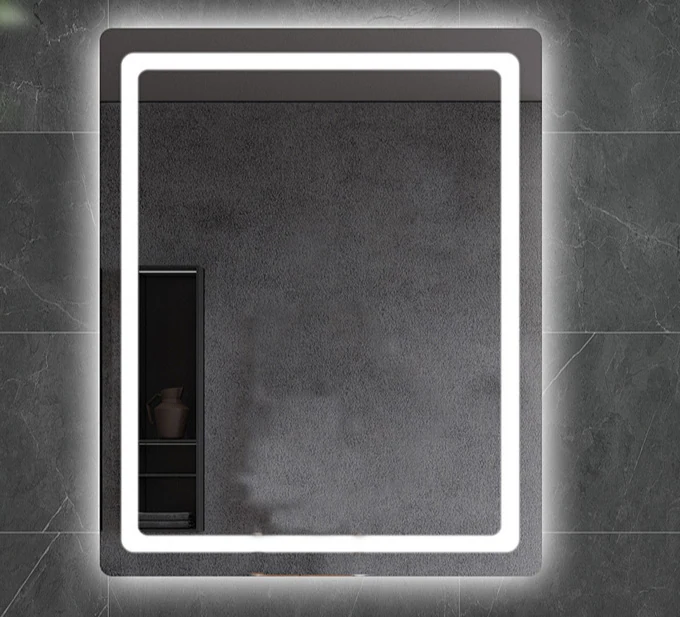
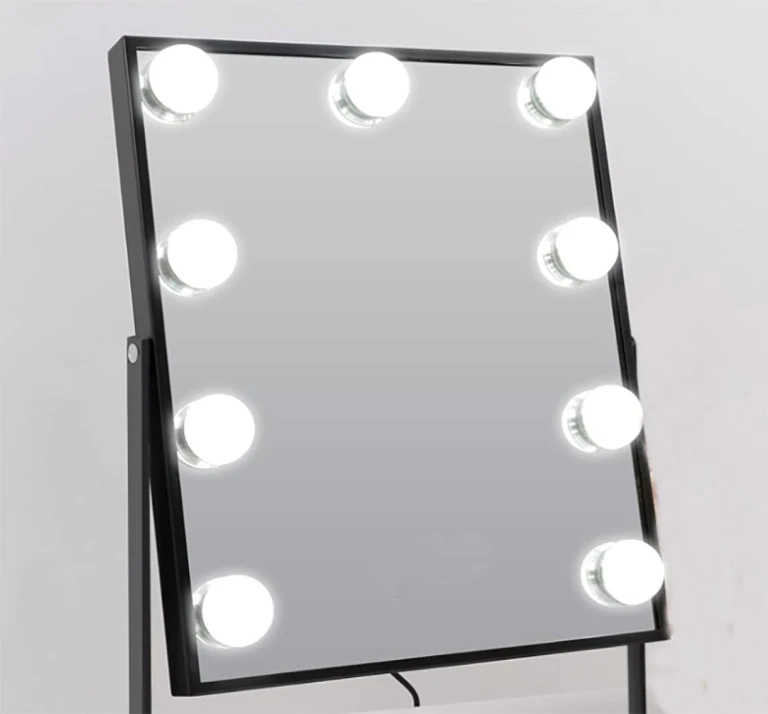
Light around the front edge can reveal facial detail when it is diffused and balanced; light behind the mirror creates a halo and separates the mirror from the wall but may not illuminate the face. A combined design can use a practical front layer and a softer rear accent. Decide the user position, mirror shape, wall gap and sightline before choosing the strip route.
- Keep the source out of the direct eye line where possible.
- Use a diffuser or profile when a continuous perimeter line is required.
- Do not expect a rear halo alone to provide even makeup or grooming light.
CURRENT PRODUCT RECORDS
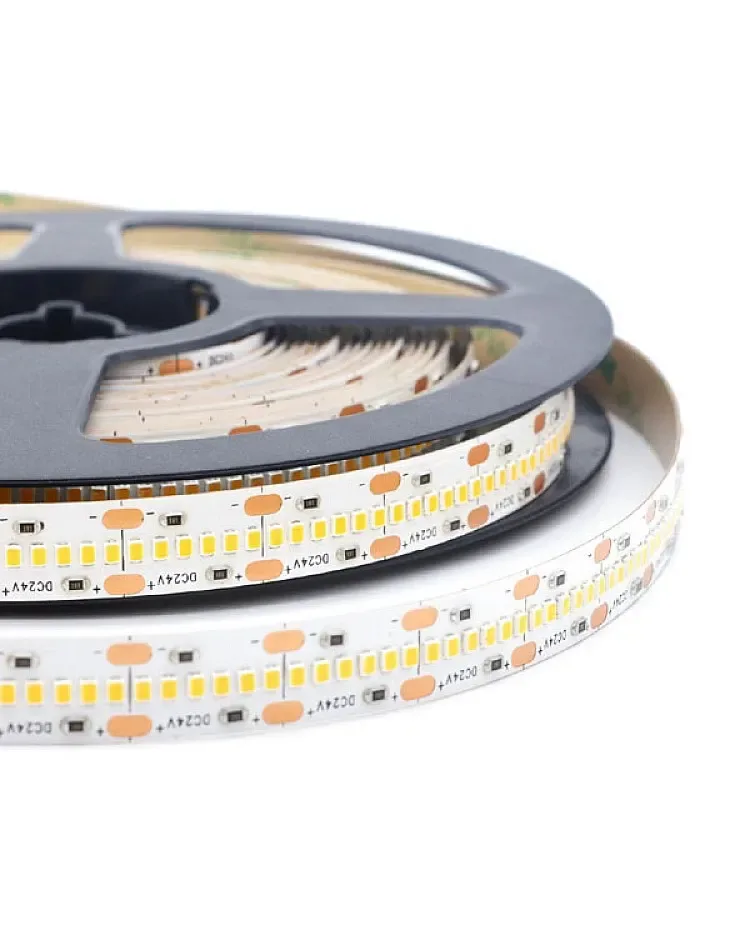
2216 CCT LED strip, 420 LEDs View productCHECKPOINT / 02
Specify color quality and CCT separately
Skin and finish colors are easier to judge under a suitable white light, but a Kelvin value alone does not prove CRI, spectrum or flicker performance. Record the target CCT, color-quality requirement, dimming floor and diffuser, then evaluate a sample at the mirror rather than relying on a rendered photo. CCT strips add a second white channel and need a matched controller.
- Choose the light engine from the grooming, task or decorative requirement.
- Keep CRI and CCT as separate specification fields.
- Test warm, cool and middle states when using a tunable-white strip.
CURRENT PRODUCT RECORDS
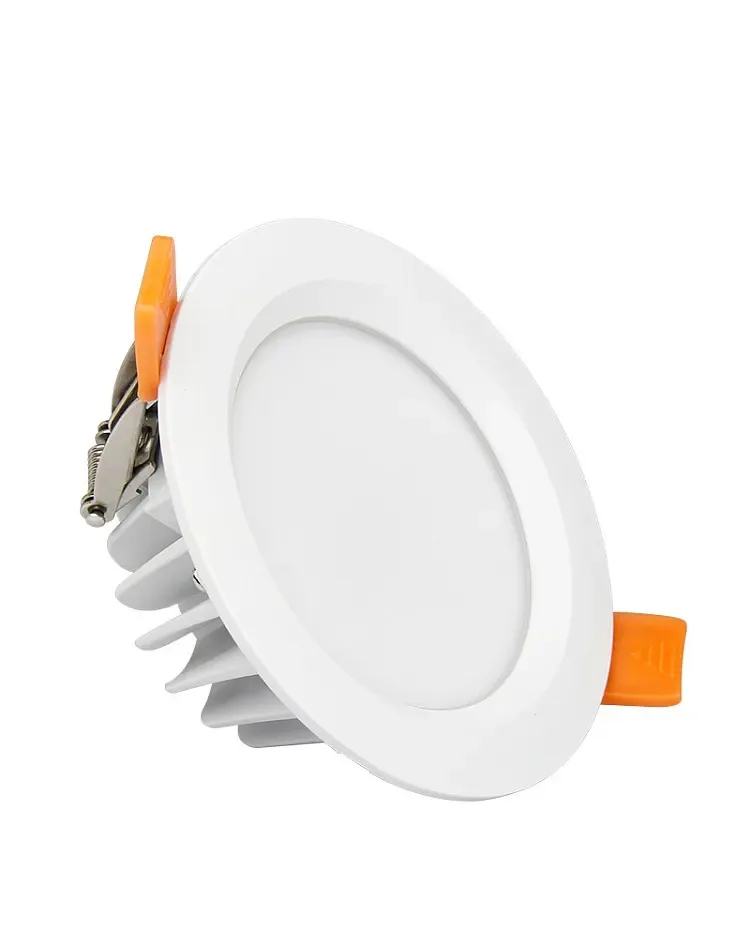
2216 CCT LED strip, 420 LEDs View product 6W RGB+CCT Waterproof LED Downlight Spot View productCHECKPOINT / 03
Treat the bathroom as a complete moisture boundary
The mirror edge, strip coating, end treatment, cable entry, profile, driver and junction point all contribute to the installation boundary. A waterproof-looking strip or silicone cover does not make an exposed assembly suitable for every bathroom location. Keep mains connections and the driver in an appropriate accessible location, follow local electrical requirements and select protection for the actual zone.
- Review splash, condensation and cleaning exposure at the mirror edge.
- Keep the power supply and service joints away from uncontrolled water paths.
- Do not publish an IP level for the finished mirror unless the complete assembly supports it.
CHECKPOINT / 04
Measure, cut and mount in stages
Measure the perimeter or the selected rear path, including corners, cable exits and service loops. Test the loose strip first, cut only at its marks and label the positive or channel direction. Clean and dry the mounting surface, then use a profile, clips or a suitable carrier when the strip needs protection or heat spreading. Adhesive alone is not a substitute for mechanical support on a heavy mirror or a warm, damp surface.
perimeter_m = measured_path + service_loop
load_w = perimeter_m * watts_per_m
supply_w >= load_w * 1.20
cut -> test -> mount -> seal_boundary
CURRENT PRODUCT RECORDS
2216 CCT LED strip, 420 LEDs View productCHECKPOINT / 05
Commission the face, not only the LEDs
Test the entire mirror from the user position at low, normal and maximum planned brightness. Look for shadows under the eyes and chin, hot spots at corners, glare in the mirror, color changes around a CCT perimeter and heat at the driver or connector. Test a restart, manual override and service access before fixing the mirror permanently. Record the final strip variant, cut length, controller, supply, mounting method and moisture review.
- Check face illumination with the diffuser and wall gap in their final positions.
- Leave a reachable driver, controller or disconnect point.
- Keep a small replacement lead or offcut with the project record.
CURRENT PRODUCT RECORDS
6W RGB+CCT Waterproof LED Downlight Spot View productVISUAL REFERENCES
See the layers before you specify the parts.

FAILURE MODES
What usually goes wrong
- A rear halo is expected to replace useful front-facing task light.
- A warm or cool label is treated as proof of high CRI or low flicker.
- A bathroom strip is selected by its coating while the cable entry and driver remain exposed.
- The perimeter is cut without a service loop or an accessible joint.
- The mirror is fixed before glare, color balance, heat and restart behavior are tested.
TECHNICAL BASIS / VERSION
Keep the decision current
This guide is maintained as a versioned technical record. Recheck the current protocol documentation and the exact product revision before using it in a production installation.
Confirm the selected voltage, light engine, driver, controller, firmware and installation conditions against the product record and project brief.
FAQ / QUICK ANSWERS
Common questions about this lighting setup
Should mirror LED lighting go in front of or behind the mirror?
It depends on the job. Front or perimeter light is more useful for seeing the face when it is diffused and balanced; rear light creates a halo and wall separation. Many designs use separate front and rear layers.
What color temperature is best for a vanity mirror?
Choose the CCT from the room and grooming task, then test the actual mirror, diffuser and surrounding finish. A Kelvin value does not establish CRI, flicker or the quality of the complete light.
Can I put any LED strip in a bathroom mirror?
No. Match the strip construction, end treatment, cable entry, driver, profile and mounting method to the actual moisture exposure and local electrical requirements. The complete assembly determines the practical boundary.
READING LIST
Reference points used for this guide
The page is rewritten for LumaCircuit readers. These references establish the original topic or technical context; they do not replace an exact product review or a LumaCircuit test record.
- Reference / localized technical tutorial