01 / Short answer
Outdoor LED strip lighting succeeds or fails at the joints. Choose the strip protection for the actual exposure, then carry the same boundary through the cut end, connector, cable entry, power supply, mounting surface, drainage and service plan.
Homeowners, landscape installers and designers planning protected exterior LED strip runs
CHECKPOINT / 01
Read IP as one part of the exposure review
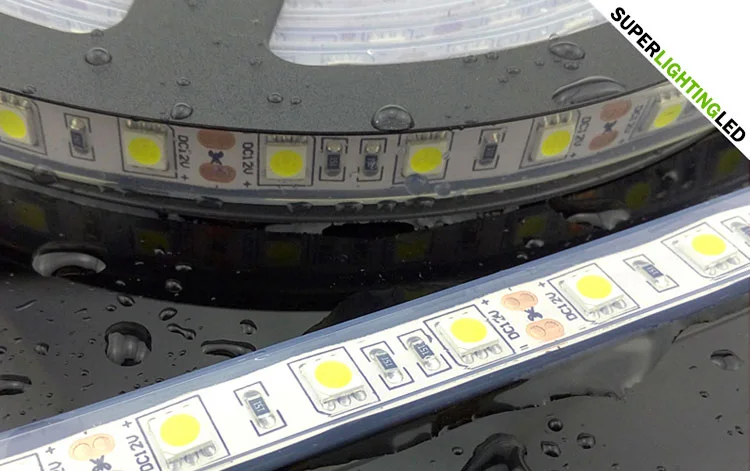
The IP code describes a tested enclosure boundary under defined conditions. It does not say that any cut end, connector, cable gland, adhesive or profile will survive the same environment. Decide whether the run sees splash, direct rain, condensation, spray, standing water, soil, cleaning chemicals, salt or UV, then select a strip and joint method for that exposure. Keep water from pooling at the lowest point.
- Name the water path and the likely service access before choosing the strip.
- Treat the cut end and connector as new boundaries.
- Do not use a strip rating as the rating of the completed assembly.
CURRENT PRODUCT RECORDS
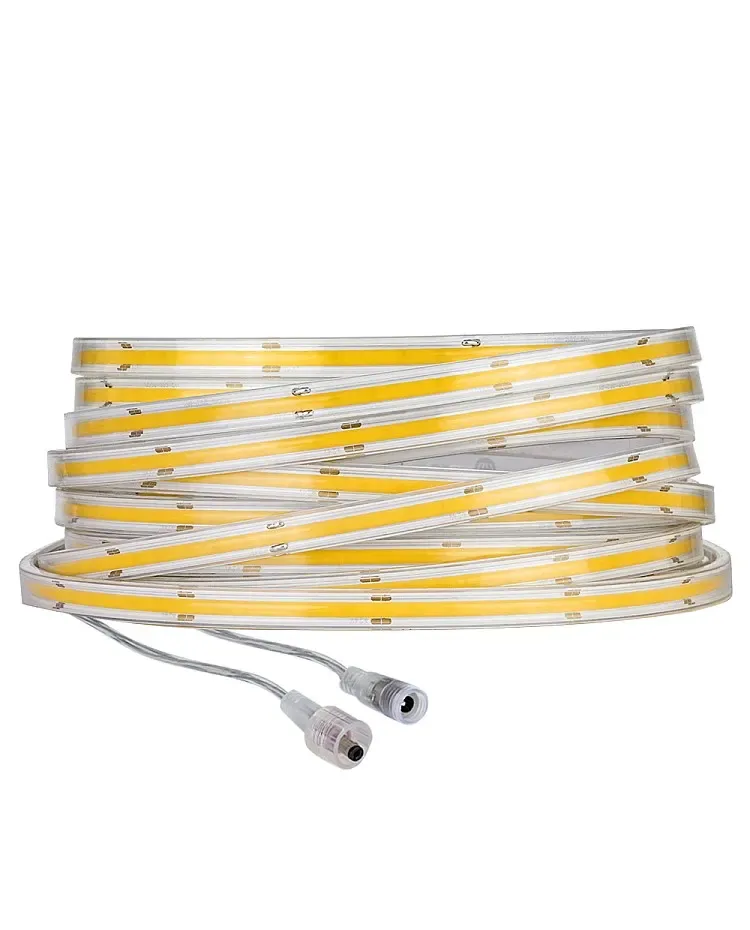
24 V IP67 CCT COB LED strip View productCHECKPOINT / 02
Plan UV, temperature and drainage
Outdoor conditions change during the day and across seasons. UV can age exposed silicone, heat can soften adhesive and cold can change cable flexibility. A channel may protect the strip mechanically but can also hold water if it is installed without a drainage strategy. Keep the strip away from direct heater surfaces, standing water and sharp edges, and confirm the working range of the exact product and supply.
- Use a mounting method that remains stable at the expected temperature.
- Create a low point or drain path instead of trapping water in a channel.
- Leave expansion, cable bend and service access at transitions.
CHECKPOINT / 03
Seal each cut, connector and cable entry
Cut only at a valid mark, then restore the end with the method specified for the strip construction. Cable entries need a gland, grommet or sealed transition that does not pull on the pad. A connector may simplify replacement, but it becomes the weakest boundary if its housing or orientation leaves a pocket for water. Route joints out of direct spray and use drip loops where the installation makes them practical.
- Inspect the seal after bending the cable into its final route.
- Keep joints away from the lowest drainage point.
- Use compatible seal materials and do not cover a fault before testing it.
CURRENT PRODUCT RECORDS
24 V IP67 CCT COB LED strip View productCHECKPOINT / 04
Keep the power system protected and serviceable
A low-voltage outdoor strip still needs a suitable AC-to-DC supply, branch protection, cable and control path. Place the supply and controller in a dry, accessible enclosure or location appropriate to their ratings, and keep mains work within local code. Calculate current for each branch, use a power path that limits voltage loss and protect the connection from mechanical pull. Outdoor control reliability depends on the enclosure and cable route as much as the radio or wired protocol.
- Check the supply, controller, cable and fuse ratings independently.
- Use separate branches when the length or current requires it.
- Label the outdoor disconnect and leave a route for replacement.
CURRENT PRODUCT RECORDS
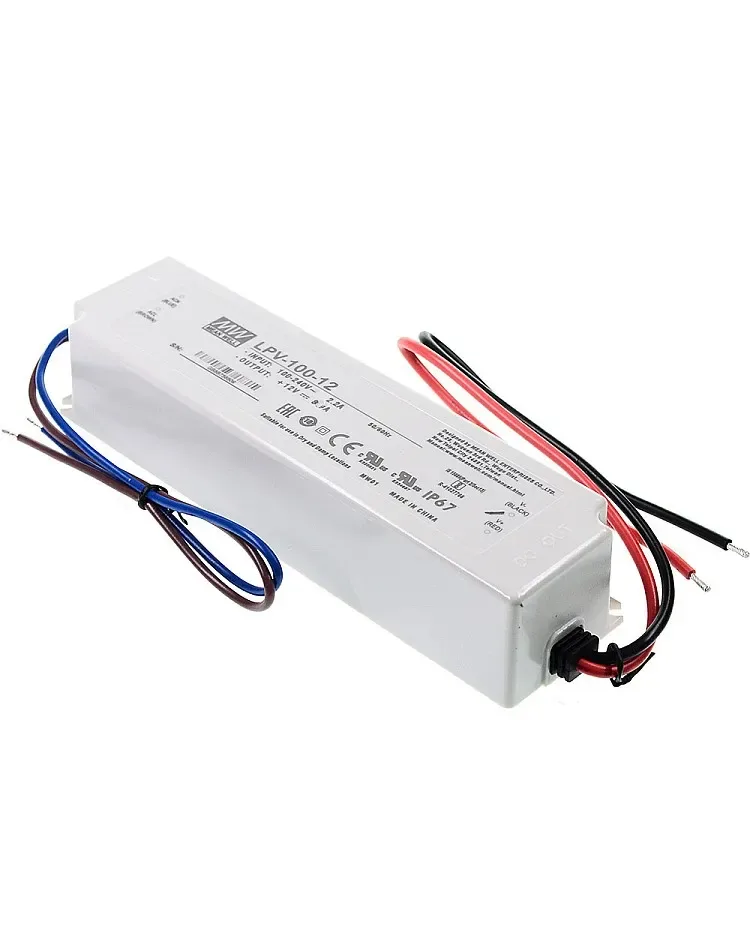
100 W IP67 LED power supply View productCHECKPOINT / 05
Mock up, load test and inspect after weather
Before final mounting, lay out the strip, supply, cable, joints and controller as they will be installed. Test brightness, color, far-end voltage, connector temperature and the mechanical route. Complete the seals, then inspect again after the first wet or temperature-changing period. Record the strip construction, joint method, IP review, mounting hardware and maintenance interval. A photo of a dry bench test is not evidence of long-term outdoor performance.
- Test the maximum planned state, including synchronized branches.
- Look for water marks, trapped moisture, lifted adhesive or cable movement.
- Keep a spare joint and the seal method in the maintenance record.
CURRENT PRODUCT RECORDS
24 V IP67 CCT COB LED strip View product 100 W IP67 LED power supply View productFAILURE MODES
What usually goes wrong
- The strip IP rating is treated as the rating of the cut connector and power system.
- UV, temperature cycles and drainage are ignored because the installation is under an eave.
- A cable entry pulls directly on the strip pad or allows water to track into the joint.
- The outdoor supply is selected from wattage only, without enclosure and local-code review.
- The run is mounted permanently before loaded, sealed and post-weather checks are completed.
TECHNICAL BASIS / VERSION
Keep the decision current
This guide is maintained as a versioned technical record. Recheck the current protocol documentation and the exact product revision before using it in a production installation.
Confirm the selected voltage, light engine, driver, controller, firmware and installation conditions against the product record and project brief.
FAQ / QUICK ANSWERS
Common questions about this lighting setup
What IP rating do I need for outdoor LED strip lighting?
Choose from the actual exposure and the complete assembly, including strip, cut ends, connectors, cable entries, supply and enclosure. The strip label alone cannot determine the finished installation boundary.
Can I install an LED strip outside under an eave?
An eave reduces direct rain but does not remove condensation, splash, UV, heat, insects or drainage issues. Match the construction and joint method to the remaining exposure and test the complete route.
Can an outdoor LED strip use an indoor power supply?
Only when the supply is installed in a dry, protected location and the complete electrical installation meets local requirements. The strip rating does not make an indoor supply suitable for outdoor exposure.
READING LIST
Reference points used for this guide
The page is rewritten for LumaCircuit readers. These references establish the original topic or technical context; they do not replace an exact product review or a LumaCircuit test record.
- Reference / localized technical tutorial