01 / Short answer
SMD package numbers describe physical size, not a complete performance grade. Compare the finished strip by density, power, color quality, thermal path, voltage and fit.
Designers, installers and DIY builders comparing narrow, dense and general-purpose LED strip options
CHECKPOINT / 01
Read package size as a fit dimension
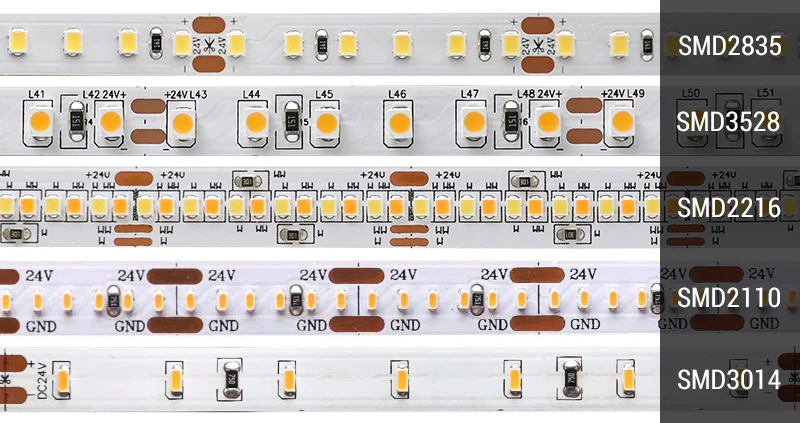
The four digits in an SMD package name are a useful physical shorthand. A 2216 package is approximately 2.2 mm by 1.6 mm, while a 2835 package is approximately 2.8 mm by 3.5 mm. A 3014 package is approximately 3.0 mm by 1.4 mm. Those dimensions help you judge PCB width and optical spacing, but they do not prove brightness, efficiency, CRI, reliability or the correct control path.
- Measure the complete PCB, coating and connector envelope before ordering a narrow channel.
- Keep package size separate from color temperature, LED density and watts per metre.
- Treat the package number as a technical family, not as a public product model.
CURRENT PRODUCT RECORDS
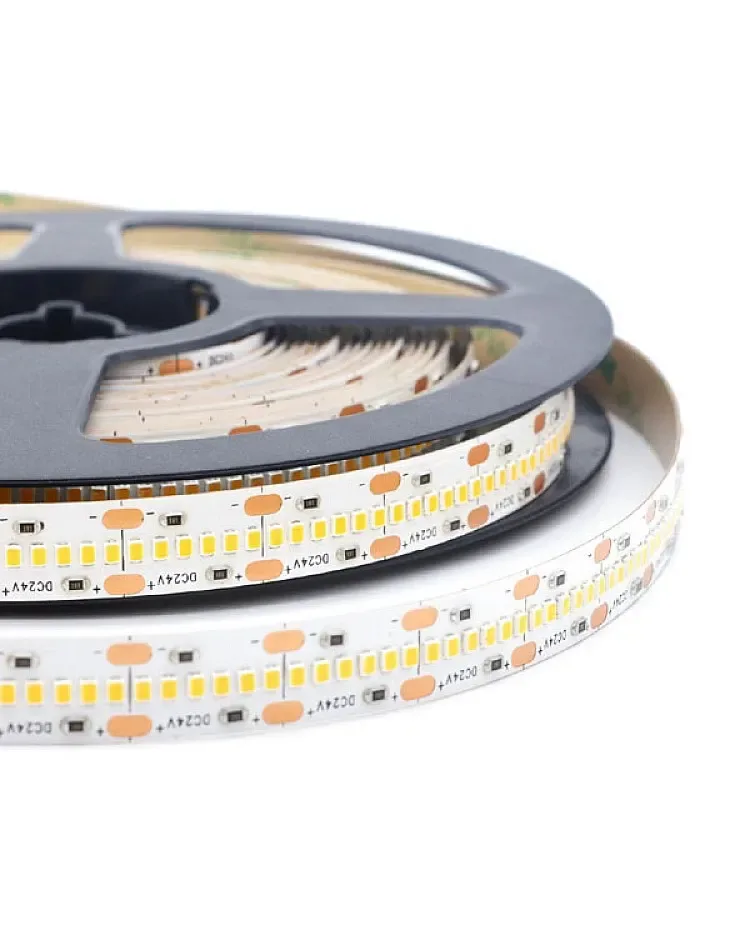
2216 CCT LED strip, 420 LEDs View product 3014 narrow dimmable CCT LED strip View productCHECKPOINT / 02
Density changes both the light and the load
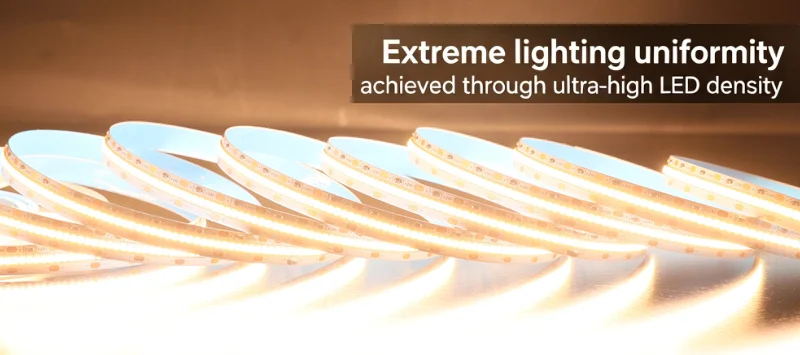
More emitters per metre can reduce visible gaps when the strip is viewed directly or through a shallow diffuser. It also increases the electrical load and the heat that must leave the PCB. A sparse strip with a deep profile may look smoother than a dense strip trapped close to a cover, while a dense strip can still show non-uniformity if the diffuser, power path or color bins are inconsistent.
- Judge uniformity from the real viewing distance and the final cover.
- Record LEDs per metre, watts per metre and strip width together.
- Use a sample to compare the first metre and the far end at the intended brightness.
CURRENT PRODUCT RECORDS
2216 CCT LED strip, 420 LEDs View product 2835 flexible CCT LED strip View productCHECKPOINT / 03
Compare the actual strip record
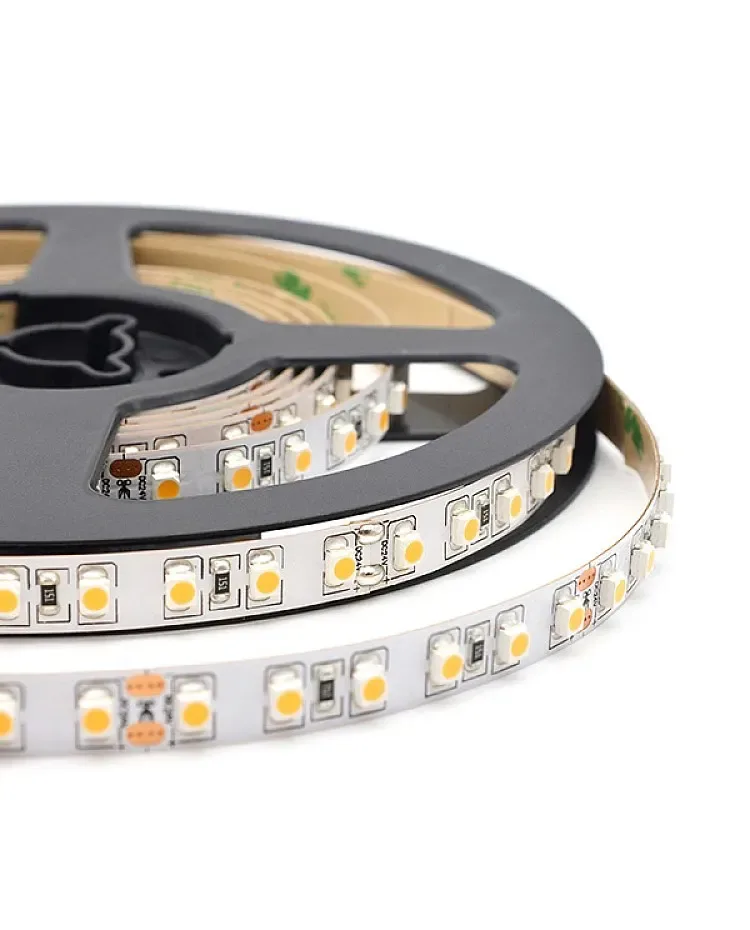
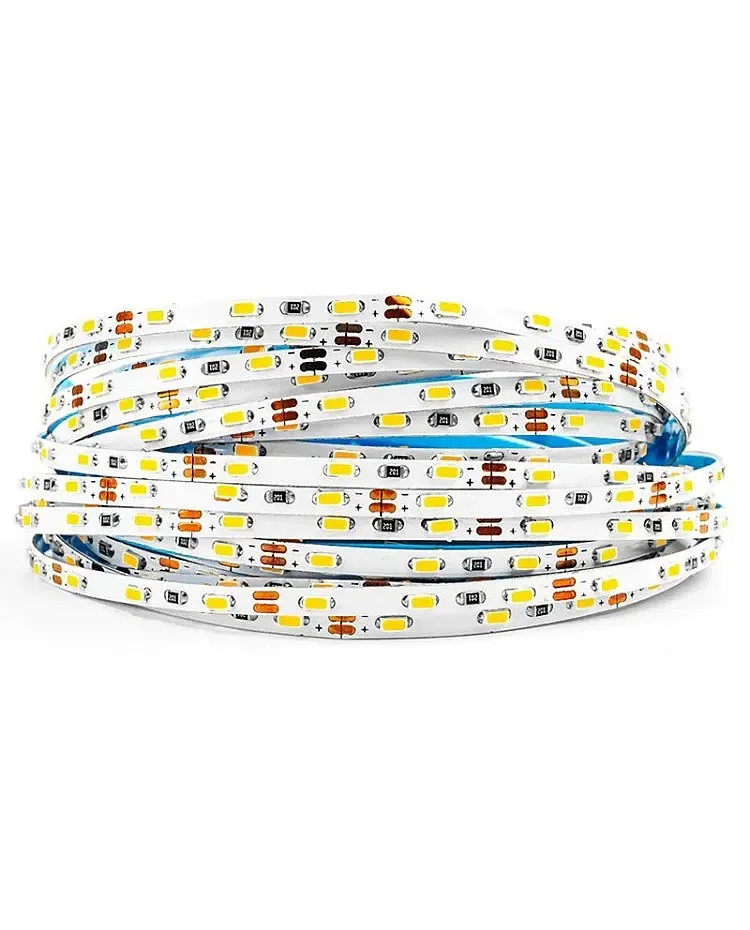
The current catalog records illustrate why package names cannot be used as a shortcut. The linked 2216 record describes a 24 V, 420 LEDs per metre CCT strip, while the linked 3014 record describes a narrow 12 V strip with a different density and cut interval. The 2835 family is a separate record with its own voltage, width, power and color options. These are useful starting references, not measured lumen or lifetime results. Confirm the exact configuration before treating any value as final.
- Write down voltage, width, density, power per metre, CCT or color, CRI evidence and cut interval.
- Do not compare lumens per LED from different bins as if they were a system measurement.
- Do not connect strips from different voltage families because the package looks similar.
CHECKPOINT / 04
Make the thermal and power path part of selection
A high-density strip is a complete installation decision. Give the PCB a conductive mounting surface where the product requires it, leave room for the diffuser and size the supply from the declared maximum load. The profile, cover, cable and connector can change the result as much as the LED package. For a long run, check voltage at the far end under a repeatable bright state instead of relying on the supply label.
load_w = length_m * watts_per_m
current_a = load_w / voltage_v
supply_w >= load_w * 1.20
CURRENT PRODUCT RECORDS
2216 CCT LED strip, 420 LEDs View productCHECKPOINT / 05
Choose by sightline, not by the smallest number
Use a compact package when the mechanical envelope or high density genuinely matters. Use a general-purpose package when output, replacement strategy or cost is more important. Select a profile and diffuser from the final sightline, then confirm that the chosen strip can be cut, wired and serviced without damaging the finish. The best package is the one that meets the optical job while preserving a believable electrical and maintenance plan.
- Visible line: prioritize density, diffusion and glare control.
- Task light: compare useful white output, color quality and heat at the intended drive level.
- Narrow furniture detail: confirm PCB width, bend direction, cut interval and connector clearance.
CURRENT PRODUCT RECORDS
2835 flexible CCT LED strip View product 3014 narrow dimmable CCT LED strip View productVISUAL REFERENCES
See the layers before you specify the parts.
FAILURE MODES
What usually goes wrong
- A package number is treated as proof of brightness or CRI.
- LED density is increased without recalculating current, cable size and heat.
- A narrow groove is measured against the bare chip instead of the complete strip and connector.
- A 12 V and 24 V strip are joined because their SMD packages look alike.
- The selection is approved from a product photo without a sample at the intended diffuser and viewing distance.
TECHNICAL BASIS / VERSION
Keep the decision current
This guide is maintained as a versioned technical record. Recheck the current protocol documentation and the exact product revision before using it in a production installation.
Confirm the selected voltage, light engine, driver, controller, firmware and installation conditions against the product record and project brief.
FAQ / QUICK ANSWERS
Common questions about this lighting setup
Does a smaller SMD package always make a better LED strip?
No. A smaller package can help with density or a tight mechanical envelope, but the finished strip also depends on PCB design, bin, current, spacing, thermal path, diffuser and control method.
Is 2835 brighter than 2216 or 3014?
Package size alone cannot answer that. Compare the exact strip variant by watts per metre, measured or documented output, density, color quality, voltage and installation conditions.
Can a high-density SMD strip be installed without an aluminum profile?
Some low-power concealed applications may not need the same profile as a visible high-output run, but the decision must follow the strip power, mounting surface, ambient temperature and service requirements. Do not use the absence of visible dots as a thermal test.
READING LIST
Reference points used for this guide
The page is rewritten for LumaCircuit readers. These references establish the original topic or technical context; they do not replace an exact product review or a LumaCircuit test record.
- Reference article / SMD package comparison