01 / Short answer
Sauna lighting is a special-environment installation. Keep the driver and mains boundary in a suitable cooler location, select the light and cable for the actual heat and moisture zones, and favor indirect, serviceable light that does not put a bright source beside the bather or heater.
Home sauna builders and specialist installers planning low-voltage light in high-heat and high-moisture spaces
CHECKPOINT / 01
Map the heat and moisture zones first
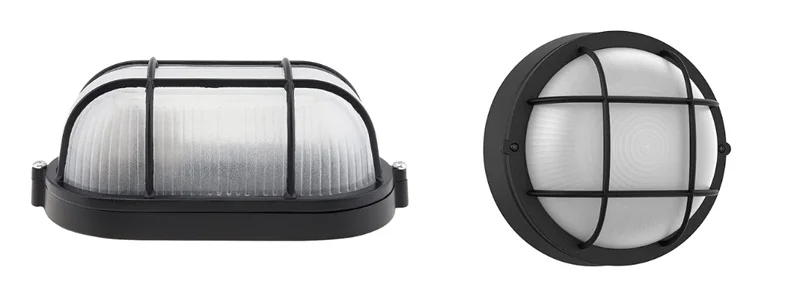
A sauna is not one uniform environment. The ceiling, heater vicinity, bench underside, wall cavity, cable entry and service area can see different temperatures, condensation and splash. Draw those zones before selecting the strip or fixture. A product that is suitable behind a bench may not be suitable near the ceiling or heater, and a waterproof label does not prove high-temperature suitability.
- Record the expected temperature and moisture at each proposed light position.
- Keep the light away from the heater and its direct heat plume unless specifically rated.
- Treat the cable, joint and driver as part of the zone review.
CHECKPOINT / 02
Keep the driver and mains outside the hot room
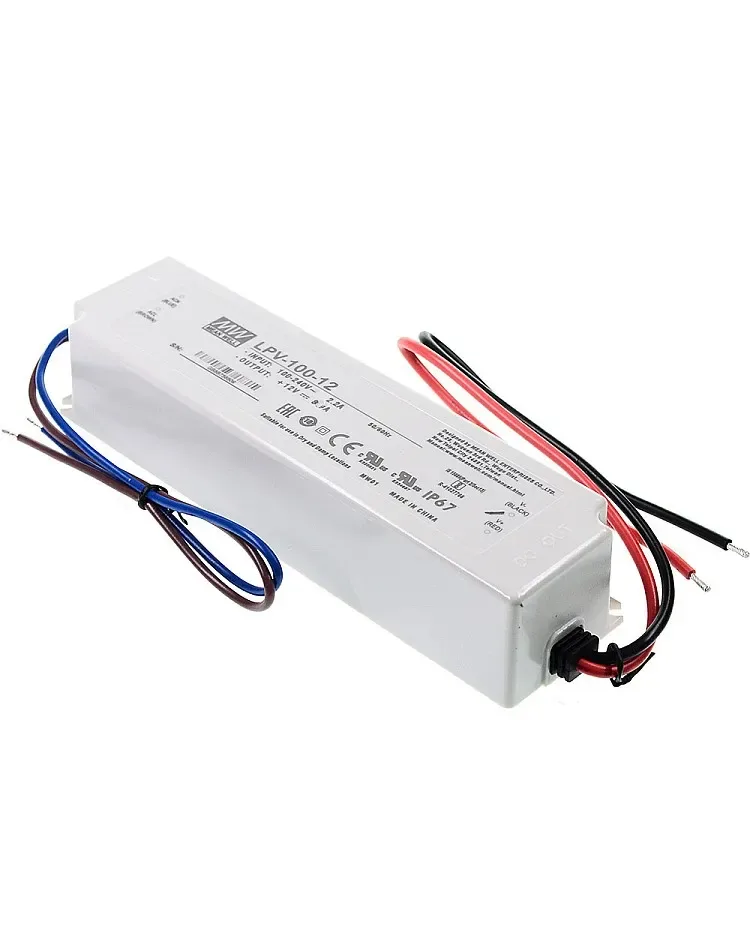
A low-voltage LED layout still needs an AC-to-DC driver, but placing that driver in a dry, temperature-controlled and accessible location can simplify safety and service. Route the low-voltage cable through a protected entry, maintain polarity and strain relief, and follow local sauna and electrical requirements. Do not treat a small voltage as permission to install an ordinary driver or unreviewed joint in the hottest zone.
- Select the supply voltage and current from the exact light engine.
- Use a cable and entry method appropriate to heat and moisture.
- Leave the driver and disconnect reachable without dismantling the sauna.
CURRENT PRODUCT RECORDS
100 W IP67 LED power supply View productCHECKPOINT / 03
Prefer indirect and diffused light
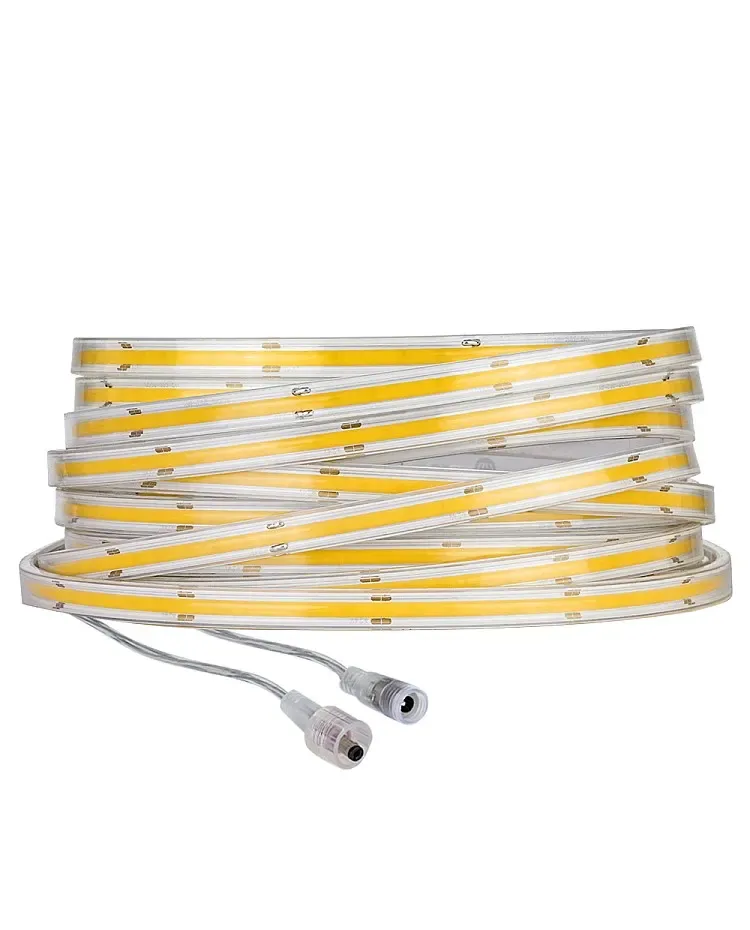
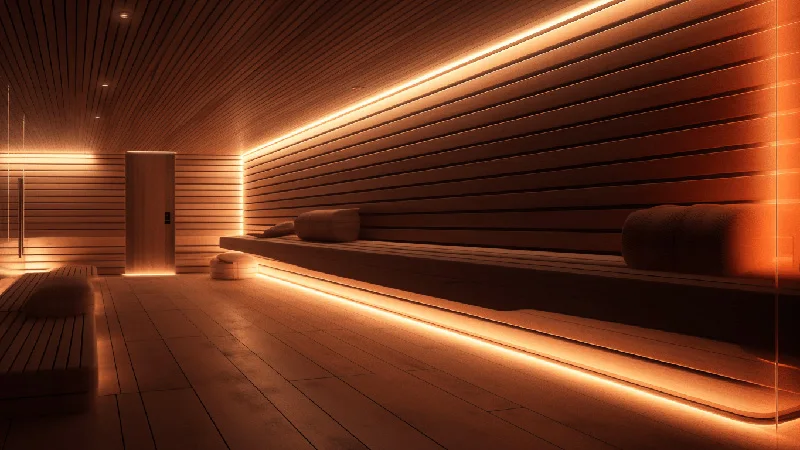
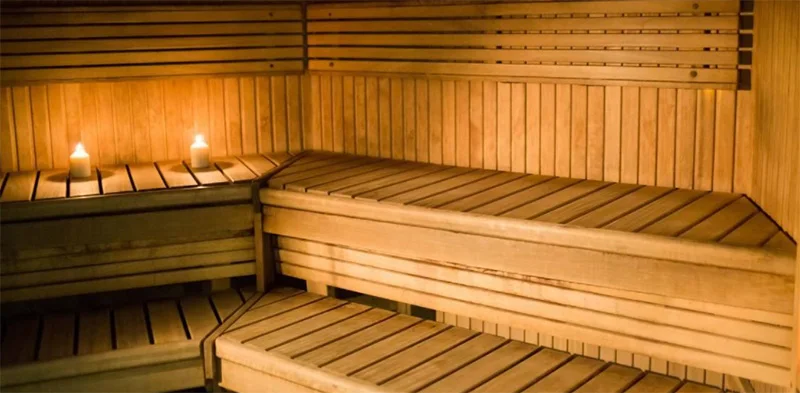
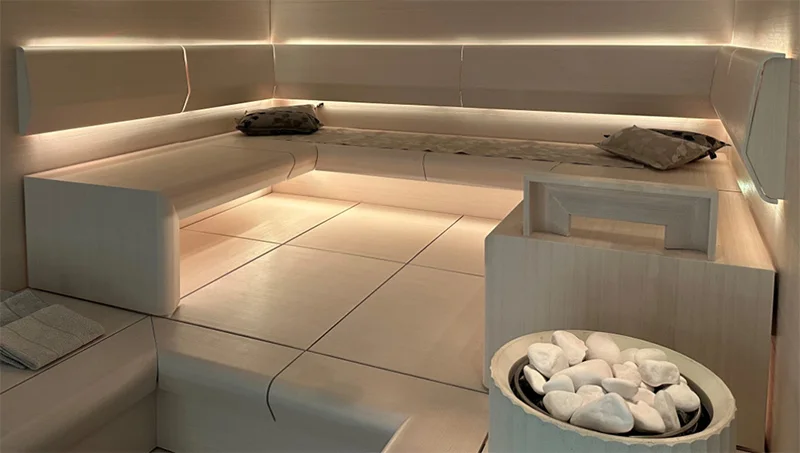
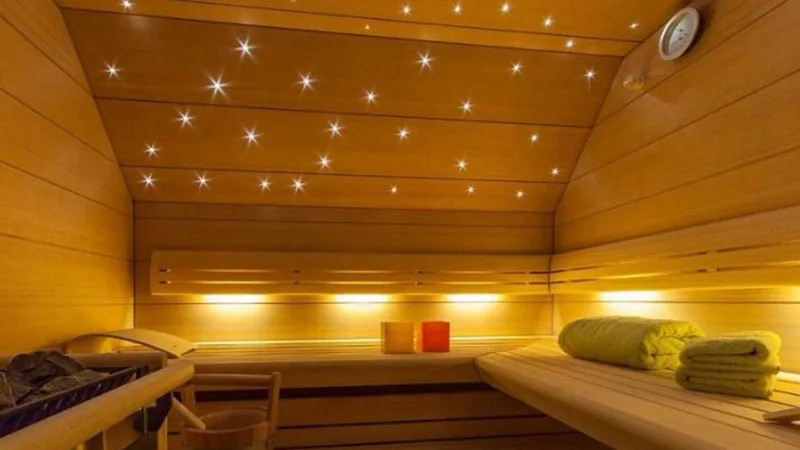
A soft line under a bench or behind a backrest can give useful orientation while keeping the upper field calm. A profile, silicone cover or other diffuser can reduce visible points, but the material and adhesive must tolerate the actual temperature. Warm or tunable white may support the desired atmosphere, while a low-level control scene can reduce glare. Test from the seated and standing positions, not only from the install point.
- Aim the light at a surface that can reflect it without a harsh hotspot.
- Keep bright sources out of the direct eye line.
- Separate CCT preference from the actual heat, IP and flicker requirements.
CURRENT PRODUCT RECORDS
24 V IP67 CCT COB LED strip View productCHECKPOINT / 04
Detail joints, seals and service loops
Any cut end, connector, solder joint or cable transition can be the weak point in a hot, humid room. Use a joint method that matches the strip construction, protect the exposed pad and route the cable so heat, movement and cleaning do not pull on the connection. Keep service access at the nearest cooler location. Do not claim the IP rating of a strip for a complete sauna assembly without reviewing the joint, enclosure and cable route.
zone = temperature + humidity + splash + access
select = strip_rating && cable_rating && driver_location
approve = sealed_joint && strain_relief && service_access
CURRENT PRODUCT RECORDS
24 V IP67 CCT COB LED strip View productCHECKPOINT / 05
Commission at operating temperature
Test the light at low, normal and maximum planned brightness after the room reaches its intended operating condition, while observing the driver, cable entry, profile, diffuser, joint and adhesive or clips. Check flicker, glare, restart, controller behavior and moisture marks. The final handoff should state the tested position, light variant, supply location, protection boundary, control method and any brightness or temperature limit.
- Test the light from every bather position and with the heater operating as specified.
- Reinspect the joint and mounting method after a heat cycle.
- Use a qualified specialist for the sauna construction and electrical boundary.
CURRENT PRODUCT RECORDS
24 V IP67 CCT COB LED strip View product 100 W IP67 LED power supply View productVISUAL REFERENCES
See the layers before you specify the parts.
FAILURE MODES
What usually goes wrong
- A normal indoor strip or driver is placed in the hottest sauna zone without a temperature review.
- The strip IP rating is used as proof that the cable entry and joint are suitable.
- The driver or mains connection is hidden inside the hot room.
- The light is aimed directly at the eye or heater instead of being diffused and indirect.
- The system is tested cold and released without a heat-cycle, restart and moisture inspection.
TECHNICAL BASIS / VERSION
Keep the decision current
This guide is maintained as a versioned technical record. Recheck the current protocol documentation and the exact product revision before using it in a production installation.
Confirm the selected voltage, light engine, driver, controller, firmware and installation conditions against the product record and project brief.
FAQ / QUICK ANSWERS
Common questions about this lighting setup
Can I use LED strips in a sauna?
Only when the exact strip, driver, cable, joint, mounting method and control system are suitable for the temperature and moisture zones. Use a specialist review and local requirements for the complete installation.
Where should the LED driver go in a sauna?
Normally in a dry, accessible and temperature-controlled location outside the hot room, with a protected low-voltage cable route. The exact placement must follow the electrical and sauna design.
Is IP67 enough for sauna lighting?
IP is only one part of the decision and does not describe high-temperature performance, cable entries or joints. Review the complete assembly for its actual heat, humidity and splash exposure.
READING LIST
Reference points used for this guide
The page is rewritten for LumaCircuit readers. These references establish the original topic or technical context; they do not replace an exact product review or a LumaCircuit test record.
- Reference / heat, moisture and complete sauna lighting assembly