01 / Short answer
Waterproof strip work is a sealing operation as well as an electrical operation. Cut at the marked interval, preserve polarity, use a compatible termination and inspect the complete cable path before exposure.
DIY builders and installers shortening, extending or branching coated LED strips for damp or outdoor locations
CHECKPOINT / 01
Identify the waterproof construction first
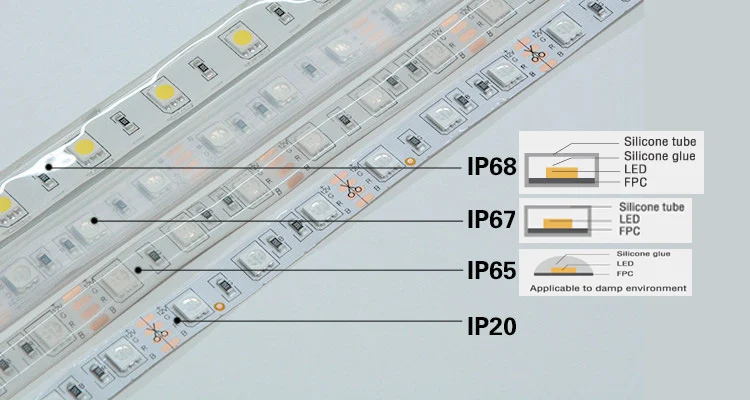
A coated board, a strip inside a hollow sleeve and a fully filled sleeve have different cutting, heat and termination behavior. An IP label describes a product variant under defined conditions; it does not certify an improvised cut, connector, cable entry or power enclosure. Record the strip construction, cut interval, width, bend direction and intended exposure before opening the seal.
- Treat the strip, end treatment, connector, cable entry and driver as one boundary.
- Keep dry, splash-prone and immersion applications separate in the project brief.
- Do not infer the protection level from silicone color, thickness or a product photo.
CURRENT PRODUCT RECORDS
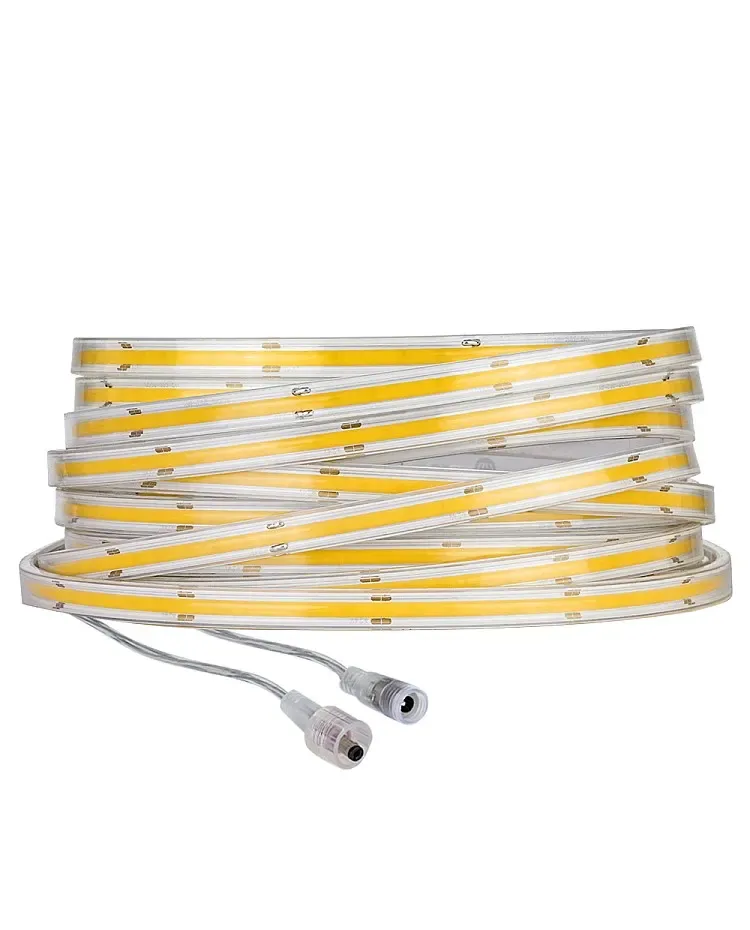
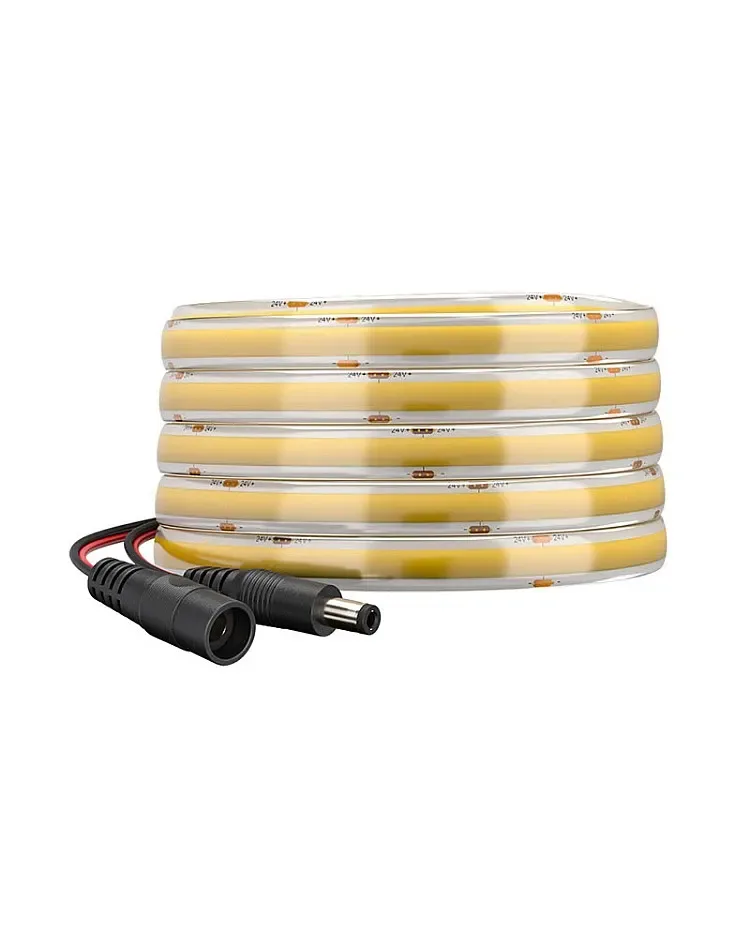
IP65 COB CCT LED strip View product 24 V IP67 CCT COB LED strip View productCHECKPOINT / 02
Cut only at the marked interval
Power off the system, clean the strip and find the printed cut mark for the exact variant. Use a sharp tool to make a square cut without crushing the PCB. Keep the cut section labeled with voltage, polarity, color channels or data direction. If the silicone or jacket must be opened for a solder joint, remove only the material needed for the connection and avoid nicking copper tracks or nearby components.
- Measure the final length before cutting and keep a labeled offcut.
- Do not use a connector that hides the cut mark or compresses the board.
- On addressable strip, preserve data input direction and the shared ground path.
CURRENT PRODUCT RECORDS
IP65 COB CCT LED strip View product 24 V IP67 CCT COB LED strip View productCHECKPOINT / 03
Choose a connector or solder joint for the exposure
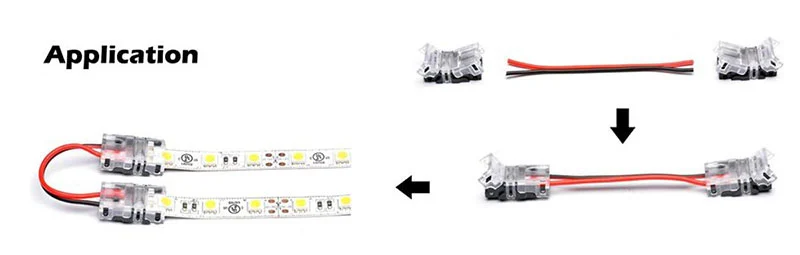
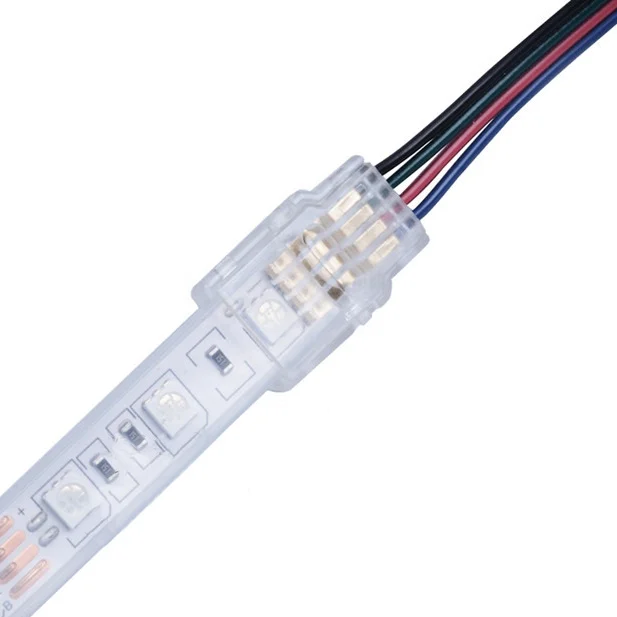
Solderless connectors can be useful for a compatible dry or serviceable installation, but a connector that grips the strip is not automatically a waterproof termination. For damp or exposed locations, use a connector and end treatment designed for that strip construction, or make a properly insulated solder joint with strain relief and a reviewed seal. Allow sealants and encapsulants to cure before the assembly is exposed.
- Match pin count, strip width, polarity and current rating before closing a connector.
- Keep the cable pull out of the electrical joint and seal path.
- Treat heat-shrink, glue and end caps as parts of the boundary, not cosmetic covers.
CHECKPOINT / 04
Plan branches, extensions and power separately
A waterproof connection can still fail through voltage drop, an overloaded connector or an undersized branch. Size the supply from the exact maximum load, protect practical branches and route extension cables with appropriate strain relief. For RGB, RGBW, CCT and addressable products, preserve the channel or data topology through every connection. Measure at the strip under the intended bright state.
load_w = length_m * watts_per_m
current_a = load_w / voltage_v
verify: branch_fuse + connector_rating + far_end_voltage
CURRENT PRODUCT RECORDS
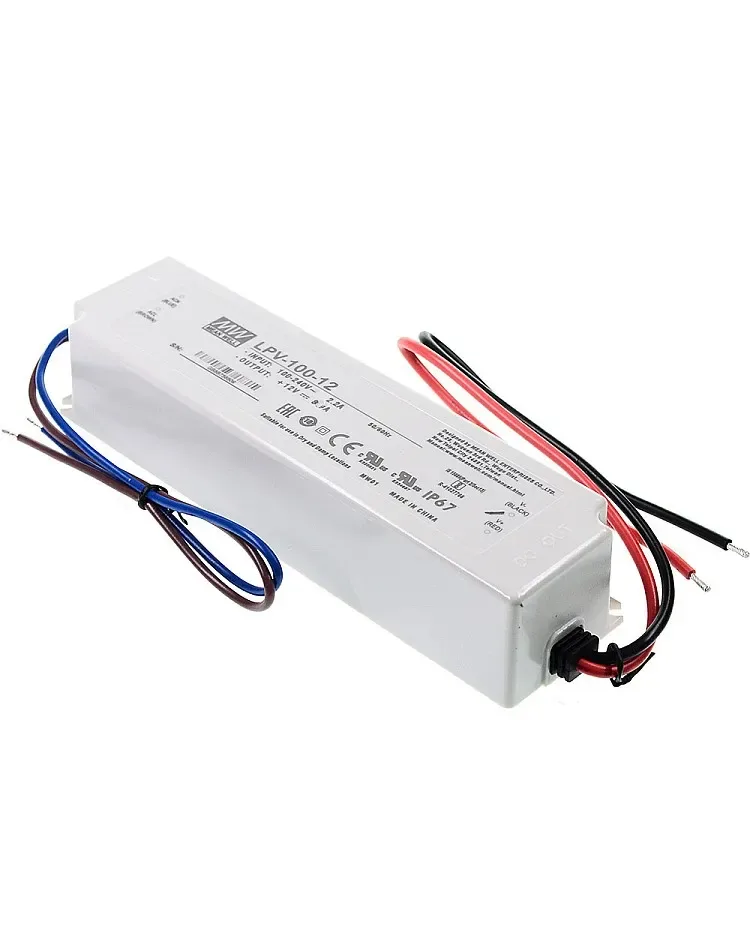
100 W IP67 LED power supply View product 24 V IP67 CCT COB LED strip View productCHECKPOINT / 05
Test the seal before the finish is hidden
Check continuity and polarity with power removed, then light a short section at low brightness before testing the maximum planned state. Inspect color, data direction, far-end voltage, temperature, cable movement and every end treatment. After cure, inspect for gaps, trapped water paths and sharp bend stress. Keep a photo and a replacement plan in the project record.
- Test the complete assembly, not only the bare strip on the bench.
- Keep drivers, fuses and low-voltage joints accessible for service.
- Do not publish an outdoor or immersion claim unless the exact assembled boundary supports it.
CURRENT PRODUCT RECORDS
100 W IP67 LED power supply View product IP65 COB CCT LED strip View productVISUAL REFERENCES
See the layers before you specify the parts.
FAILURE MODES
What usually goes wrong
- The cut is made between marks and leaves a dead section or shorted edge.
- A connector matches the pin count but not the strip width, coating height or current.
- The end cap is sealed while the cable entry remains a path for water.
- A long branch is electrically undersized even though the silicone joint is intact.
- The assembly is energized before sealant cures or is tested only at low brightness.
TECHNICAL BASIS / VERSION
Keep the decision current
This guide is maintained as a versioned technical record. Recheck the current protocol documentation and the exact product revision before using it in a production installation.
Confirm the selected voltage, light engine, driver, controller, firmware and installation conditions against the product record and project brief.
FAQ / QUICK ANSWERS
Common questions about this lighting setup
Can I cut any waterproof LED strip anywhere?
No. Cut only at the marked interval for the exact variant. Coating and sleeve construction can make the mark harder to see, so identify and label it before opening the connection area.
Are solderless connectors waterproof?
Only when the exact connector and termination method are specified for the strip construction and exposure. A clear cap or tight fit alone is not proof of an IP-rated assembly.
Does heat-shrink make a soldered joint outdoor-ready?
Heat-shrink can provide insulation and strain relief, but the complete cable entry, sealant, end cap, driver enclosure and mounting route still determine the environmental boundary. Review and test the entire assembly.
READING LIST
Reference points used for this guide
The page is rewritten for LumaCircuit readers. These references establish the original topic or technical context; they do not replace an exact product review or a LumaCircuit test record.
- Reference article / cutting and connecting coated LED strips